Feature template
NOTE: This topic is only applicable to the following Robotics OLP products:
- Visual Components Premium OLP
- Visual Components Professional OLP
- Visual Components Robotics OLP
If the workpiece has parts that are repetitive, Feature template tool can be used. For example, like below.
Feature template gives the ability to reuse the programs for similar part of the workpiece; eliminating the need to reprogram welds again and again. This helps to speed up the programming.
Weld paths are created for a single part in the workpiece which is repetitive and used for similar other parts in the same layout. Further, if the same part is present in some other workpiece, Feature template tool can be used.
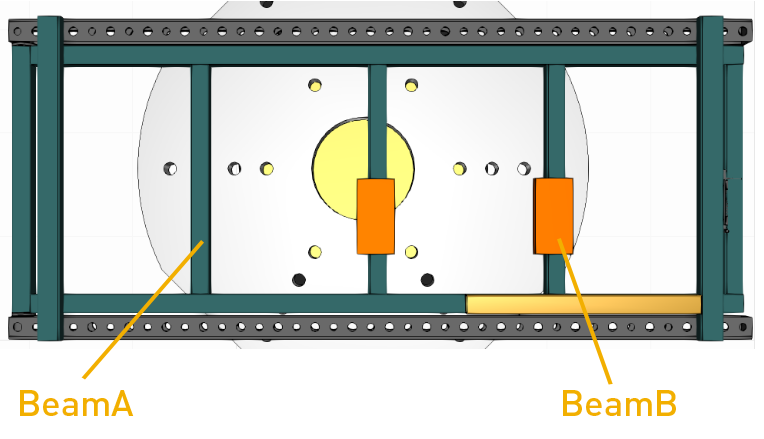
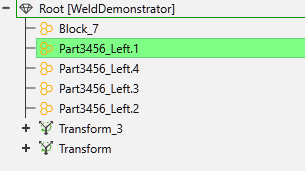
The algorithm uses the names of the geometries to identify them as similar parts. Thus, a pre-requisite is to have the Workpiece CAD model with all the similar parts as separate geometry and named in a similar way like below.
Workflow
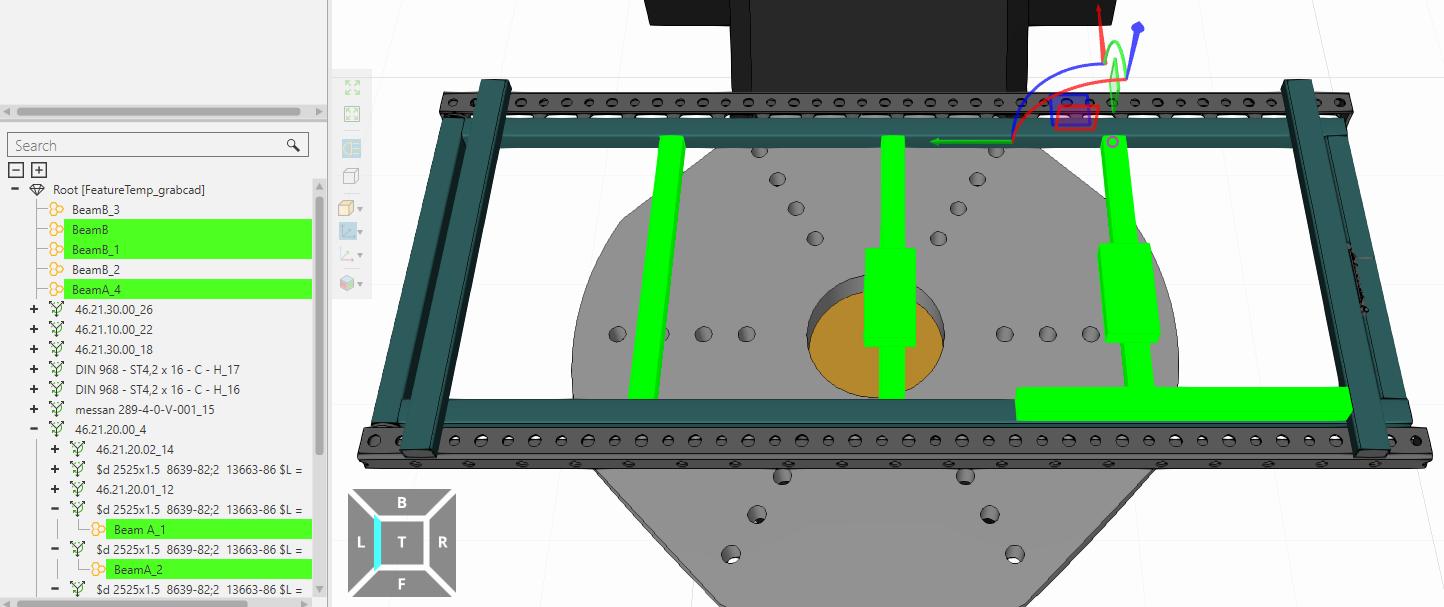
- While importing Workpiece CAD model, select the Full Feature tree option
- The imported Workpiece CAD model must have same name for the parts that you want to create as a template.
- Now create the welds for the repetitive part
- From the feature template options click on Set feature and select the surface of the part on the workpiece.
- Click on Export template to save it as a file.
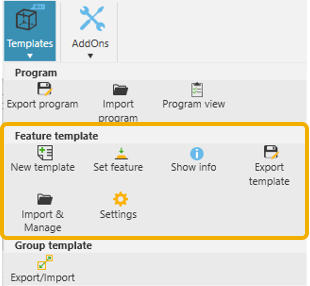
- Now, click on Import template and an Import feature templates window appears.
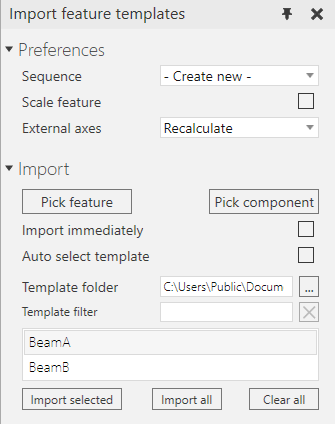
Sequence: Choose from the list if you want to import the whole program into Main or create separate sub-routines for every feature or import into current activated sequence.
Scale feature:The feature template can also be used in cases where the workpiece has the feature in different orientation or different length/width.
Scale feature + Fix orientation can be used in this situation.
NOTE: For the scale feature to work as intended, the origin should be at fixed place relative to the feature.
There are different ways you can import the template explained in below section.
Using Feature Template
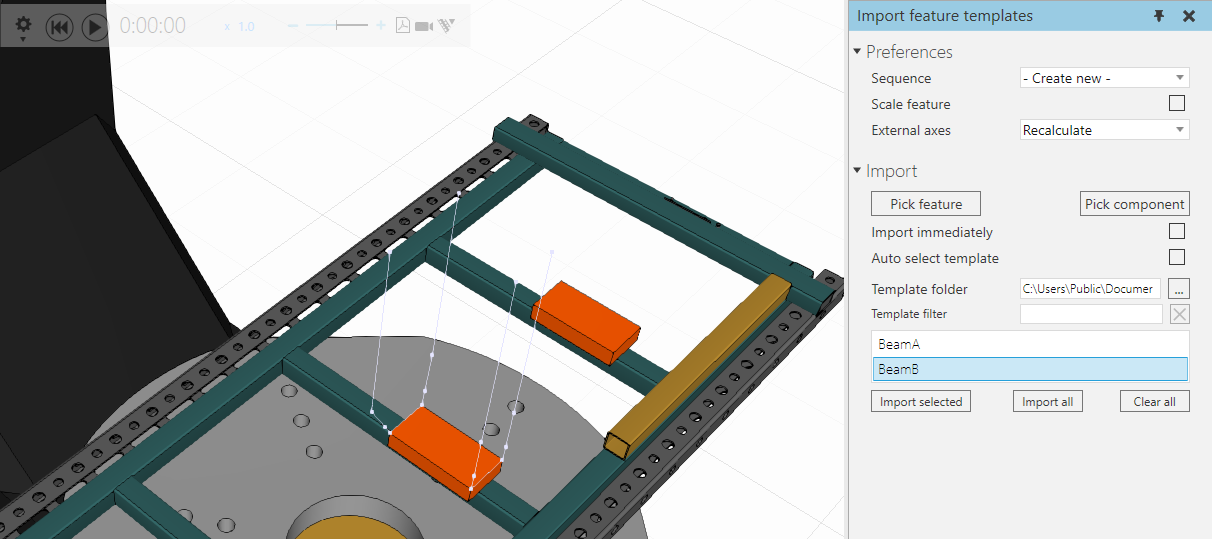
Case1:
Click on correct template file from the list > Click Pick feature> Pick the surface of the part in the CAD model >Click Import Selected
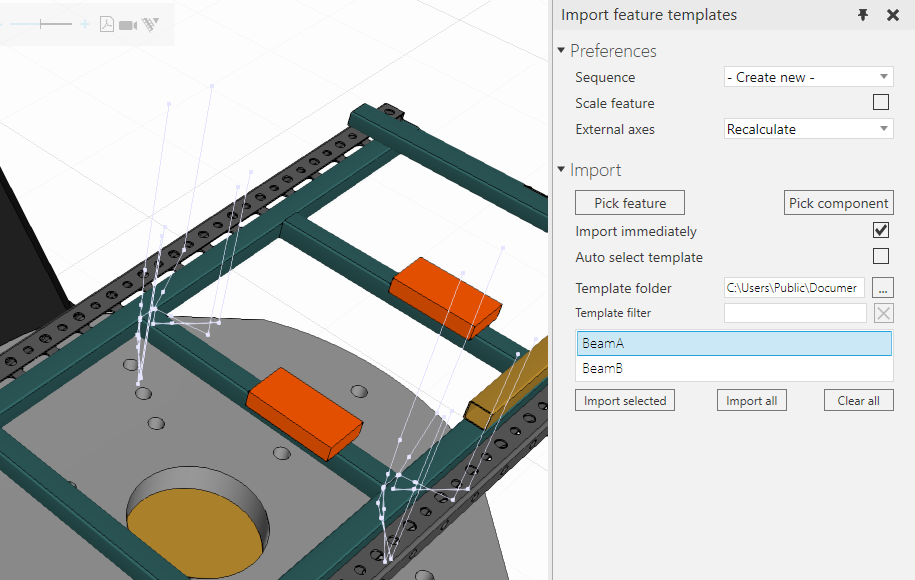
Case2:
Click on Import immediately:
Click on correct template file from the list > Click Pick feature> Pick the surface of the part in the CAD model
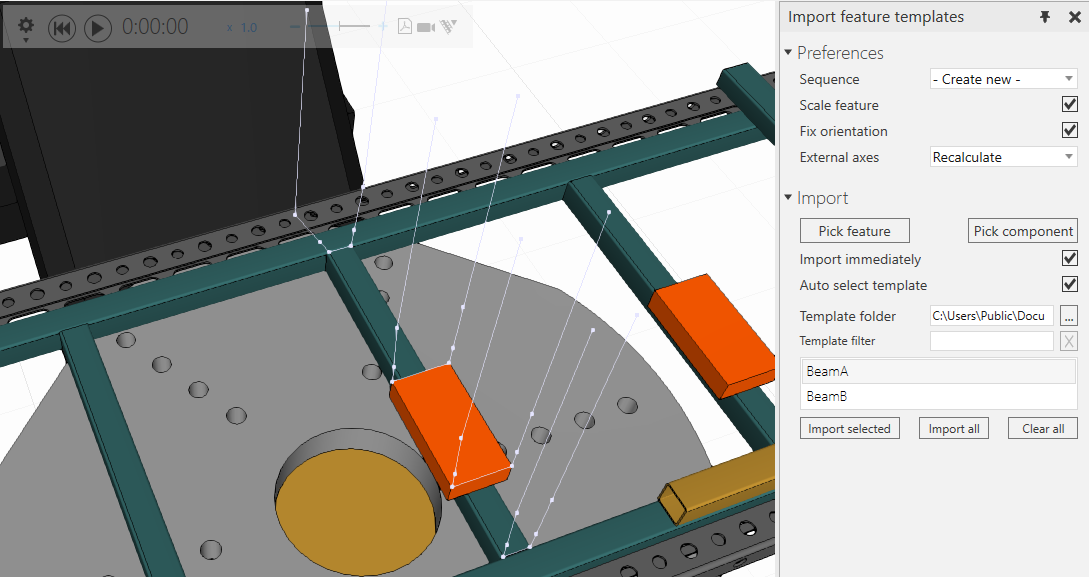
Case3:
Click on Import immediately + Auto-select template > Click Pick feature > Pick the surface of the part in the CAD model
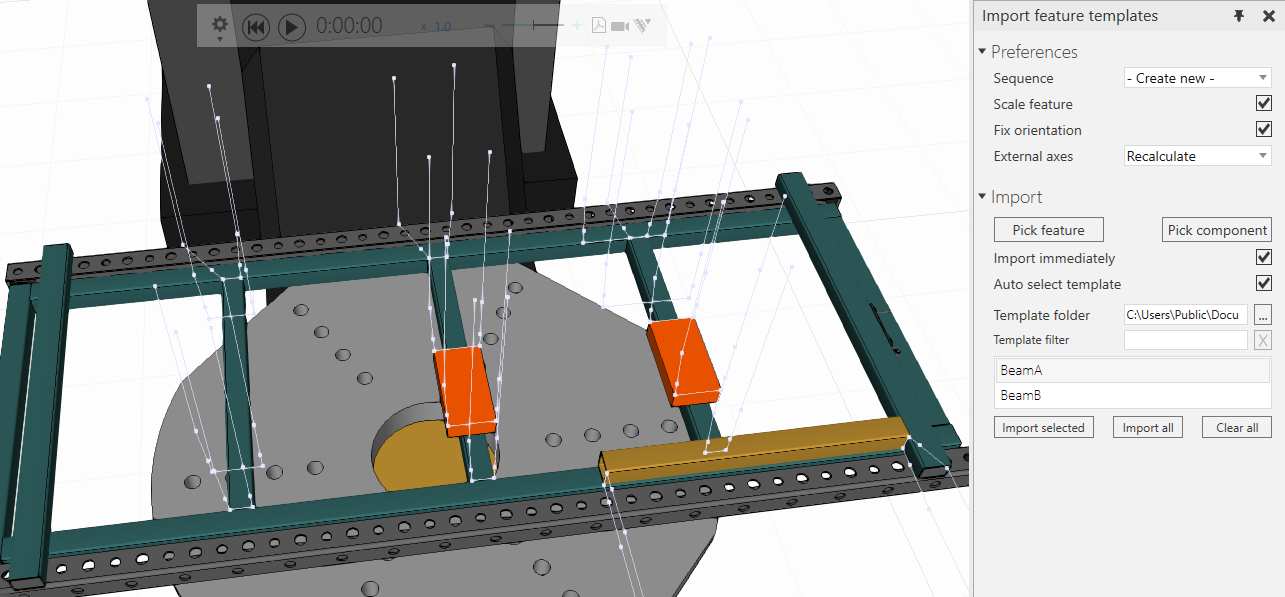
Case4:
Click on Import immediately+ Auto select template > Pick component > Pick the CAD feature. The algorithm will automatically select correct template for correct geometry and import the welds all at once on the workpiece.
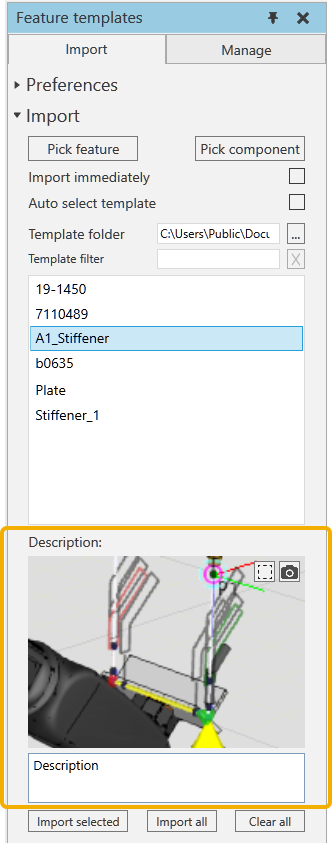
Feature Description
You can take a snip of the feature so that it is easier to remember to what geometry in the workpiece the feature template belongs. Additionally, you can also add comments in the empty field below the picture.
Manage tab
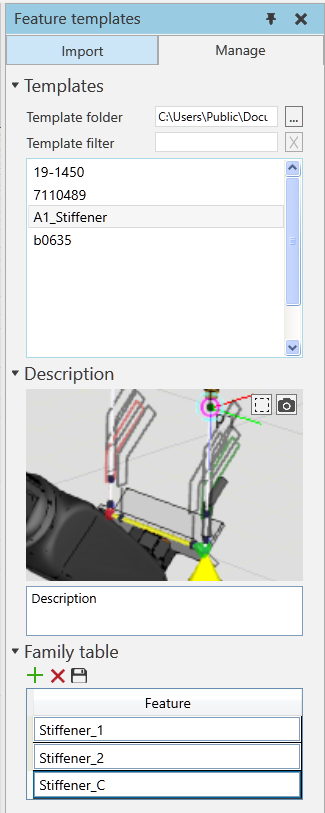
Template folder: Select the correct folder where the feature template files are exported to.
Template filter: Allows to search the template by typing the name
Description: Add picture and comments to the feature
Family table: Select a feature from the template filter. E.g., A1_Stiffener.
Now under the Family table you can add rows and write the names of other features where this same template A1_Stiffener can also be used.
Name settings

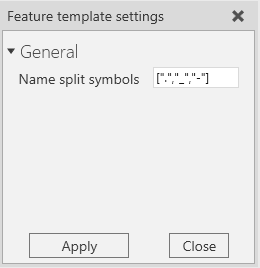
The name split symbol allows to define what are the separators to be used to split the name for feature template and in which order.
For example, in the above case, the name of the feature would be split at dot operator first, then underscore and hyphen as the last operator.
Therefore, the resulting Feature name would be Part3456.