Assembly status
NOTE: This topic is only applicable to the following Robotics OLP products:
- Visual Components Premium OLP
- Visual Components Professional OLP
- Visual Components Robotics OLP
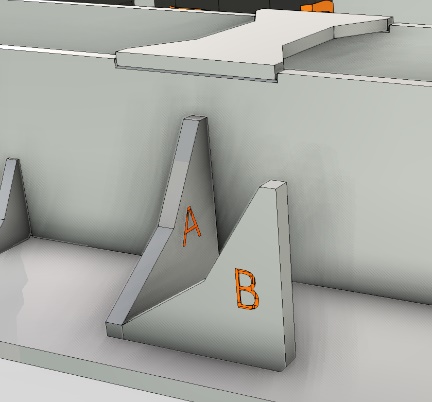
This tool can be used if you need to do welding in phases or handling operations. For e.g., consider a product having 2 parts A and B. In welding phase 1 if part B is not needed then Part B can be made hidden in phase 1 and made visible in phase2.
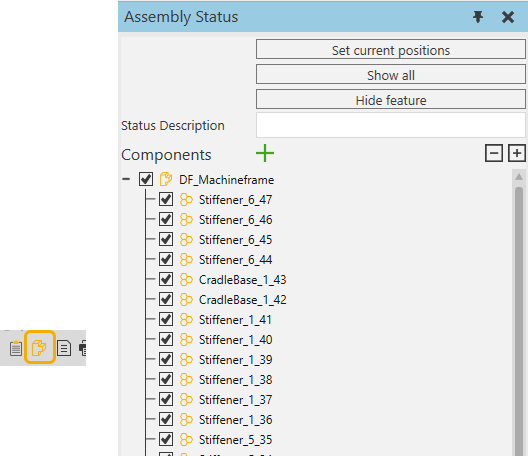
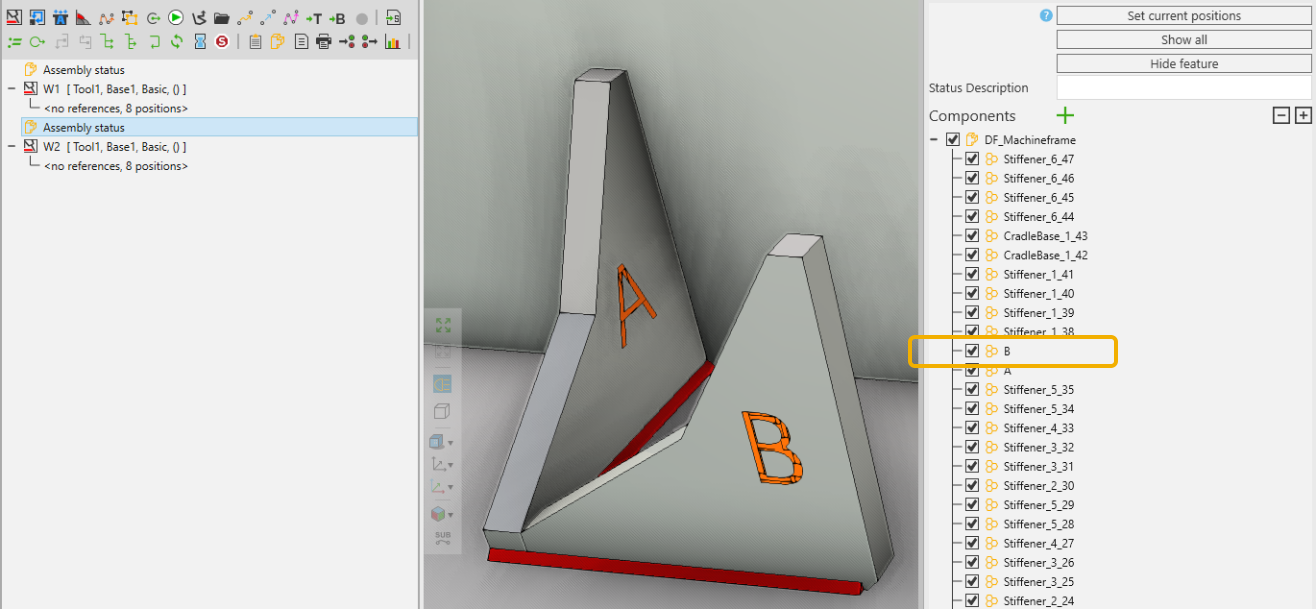
Set current positions: If the component position is changed during the assembly phase, the new position can be saved by clicking this option.
Show all: By clicking this option whatever components that were hidden previously would be made visible.
Hide feature: Use this option to pick a component in the workpiece and hide it.
Status description: The description related to the assembly phase can be added over here. This will then appear in the Program editor, which helps to follow what happens at every Assembly status command.

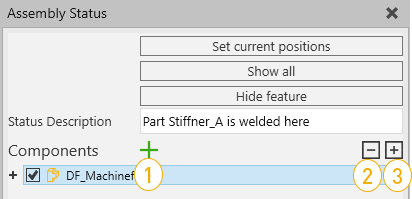
- Add another Component to Assembly tree
- Collapse the component tree
- Expand the component tree
To use this tool:
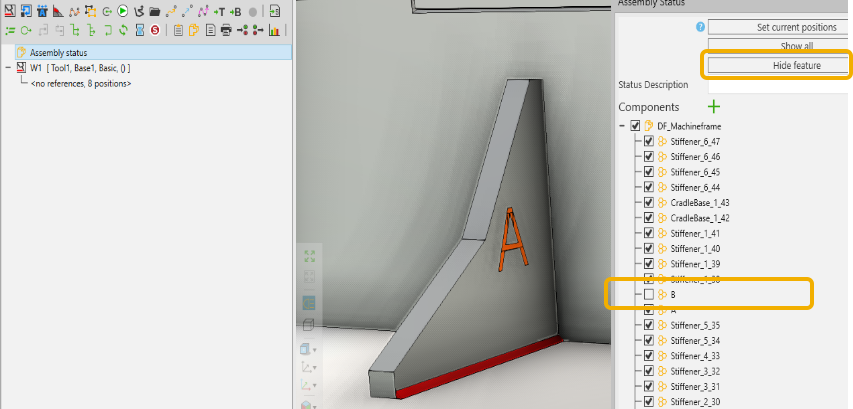
- Go to Program editor and click on the desired component and click Assembly status menu from statements toolbar. In the below example picture, the workpiece was selected while creating the assembly status command. Click on the assembly status statement to view the Property tab. You can use the Hide feature option by picking the surface of the component that is not needed in phase 1. For e.g., below B component is hidden.
You can also use the untick option to hide a component.
- When the part B is needed in phase 2 it can be made visible, by again creating assembly status and making that component visible.
-
For simulating pick and place operation you can use as below. The idea is that, place the component wherever needed and create assembly status. The position of the component is stored at every assembly status creation.
Click on the component to be picked and create assembly status.

Jog the robot to the picking point above the component and create Ptp motion. Click on the component and create another assembly status.

Attach the component to the robot.

Jog the robot to the release position and create the Ptp motion.
Click on the component to create assembly status.
Run the simulation to see the effect.

- If the application needs to change the position of component to new one, then move the component to desired location and click on ALTGR on keyboard and only then select the assembly status statement. By doing this the component wont jump back to its previous position. Now click on set current positions to save the component to the new moved position.